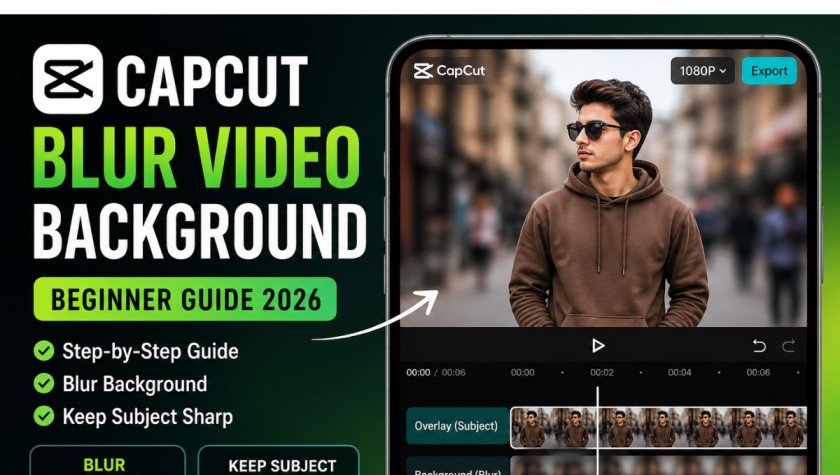
How to Blur Video Background in CapCut beginner guide 2026
Learn how to blur video backgrounds in CapCut step by step for a cinematic look. Easily remove distractions and make your videos look professional in minutes.
You have sometimes taken a video and everything seems perfect but the background of the video spoils the shot. Perhaps, someone may be walking behind you or there are some random objects that distract the viewer. Rather than removing that clip, you can easily correct it when you use the blur effect of CapCut.
CapCut can really easily make a cinematic blurred background effect, even though you may be a beginner. In this guide, you are going to learn in a step-by-step manner how to blur video backgrounds in CapCut using some simple techniques to make your videos look clean and professional.
Start a New Project in CapCut
The first step is to open the CapCut app on your mobile or desktop.
- Tap on New Project
- Select the video you want to edit
- Import it into the timeline
Once your video is added, you are ready to start editing. This is the base of your blur effect setup.
Create Duplicate Layer
To create a proper background blur effect, you need two layers of the same video.
- Select your original clip
- Copy or duplicate it
- Keep one clip on the main timeline
- Move the second clip to the overlay layer
This step is important because:
- The bottom layer will become the blurred background
- The top layer will keep the subject clear and sharp
This layering technique is what gives CapCut videos a professional cinematic look.
Add Blur Effect to Background
Now we will apply the blur effect to the background layer.
- Select the bottom video layer
- Go to the Effects option
- Open Basic Effects
- Choose a blur style (Gaussian Blur is commonly used)
- Adjust the intensity based on your video
Keep the blur moderate. If you overdo it, the video can look unnatural. The goal is to softly hide distractions, not destroy the background completely.
At this stage, your video will already start to look more focused and professional.
Explore more here: How to Add LUTs in CapCut
Keep Subject in Focus (Mask Trick)
Now comes the most important part of the process keeping the main subject clear.
- Select the top overlay layer
- Tap on the Mask tool
- Choose a shape (circle, rectangle, or custom)
- Position the mask around your subject
This ensures:
- Subject stays sharp and visible
- Background stays blurred
If your subject moves in the video, you may need to adjust the mask position over time. This helps maintain a natural and smooth look throughout the clip.
This step is what separates a basic edit from a professional one.
Fine Tuning the Video
After applying blur and mask, it’s time to refine everything.
Check these things:
- Is the blur too strong or too weak?
- Are the mask edges smooth?
- Is the subject properly centered?
- Does the video look natural when played?
Make small adjustments until everything looks balanced. Good editing is all about subtle improvements rather than extreme changes.
Also, preview the full video once before exporting to make sure everything flows smoothly.
Export Final Video
Once you are satisfied with your edit, you can export the video.
- Tap on Export
- Choose high resolution (1080p or 4K if available)
- Select frame rate (30fps or 60fps depending on your clip)
- Save the final video to your device
After export, your video will have a clean blurred background effect that looks cinematic and professional.
Conclusion
One of the simplest methods to enhance the quality of your content without having to use advanced editing techniques is to blur the background of your video in CapCut. It can be used to eliminate distractions, place emphasis on your subject and to give your video a cinematic look.
With the help of a simple combination of duplicate layers, blur effects, the tool of a mask, you can transform a standard video into a aesthetically pleasing edit. This technique can be easily learned after practicing, and with this knowledge, you can make your content shine on social media platforms such as Tik Tok, Instagram, and YouTube.